How To Humidify A Room – 15 DIY Humidifier Ideas
A lot of times people opt not to humidify their homes because they don’t want to spend money on a store-bought humidifier that’s going to eat up electricity. We don’t want to encourage manufacturers to make more of these plastic monstrosities, either.
But we still need to add some moisture to the air in our dry homes. My own house is incredibly dry – we wake up with dry, sore throats every day.
It’s important to have enough moisture in the air for a lot of reasons, including everyday health and healthy skin, but especially when you’re feeling the pressure of weather fronts moving in, have a cold, or otherwise aren’t feeling your best.
To avoid buying machines that eat away at electricity, try these homemade humidifiers instead.
Put Pots of Water on Your Heater Vents

One of the easiest things to do in wintertime is to fill up a metal pot of water and simply place it on your heater vent. The heat from the vent warms the water without the use of additional electricity or gas like a stove requires.
The water then vaporizes into steam and rises into the air, adding moisture. It’s a simple, inexpensive, green option for adding some humidity to a dry home.
If you’ve got a really dry house, we’d recommend putting out several pots or metal bowls of water on the heater vents. One in every room, minimum, with two or three for larger rooms.
Repurpose Your Electric Candle Warmer

If your home doesn’t have heater vents you can use to create steam for some added moisture in the air, you can try using some electric candle warmers instead. These little devices are designed to heat up a candle and radiate the scent throughout the room without destroying the candle.
The same principle can be applied to glasses or jars of water placed on the candle warmer. Simply plug the warmer in, place a glass container – please, avoid plastic for safety reasons – filled with water in the candle warmer and let it do its work.
It will take a few minutes for the warmer to heat up, but once it does, you’ll have a “hot spot” for moisture in the air. I’d especially recommend using this for rooms with people who are struggling with congestion or headaches due to pressure.
This is especially a great idea for a natural humidifier for baby rooms and bedrooms.
Via RitaJPike
Add Indoor Plants

Another simple way to add a little bit of moisture to the air at home is by adding some indoor plants. This option is attractive for a lot of reasons, though, admittedly, it won’t add loads of water to the air. This is more of a small way to consistently add moisture to your home.
Plants perspire ( called transpiration) a bit like we humans do, lightly putting out water into the air. When you water your plants with a can and then spray them occasionally, they react chemically and release the water right back into the air.
You can also put your plants on a tray with some water in it. This will also help to raise the humidity in the room. Make sure there’s about 1 inch of standing water for this to be effective.
Have a Cuppa

We love tea. The kettle whistles about six times a day between two people making up a cuppa. And every time that kettle whistles, it’s the steam releasing from the kettle, adding some moisture to the air. If you prefer coffee, get yourself a pour-over coffee brewer for the same effect.
Alternatively, if you don’t like tea or coffee, you can simply cook on the stovetop more often. Every time you cook, the food and preparation items release a small amount of water into the air. Just choose what you cook wisely – oil, vinegar, and other liquids also release into the air.
Open Top Water Bowls

The absolute simplest and possibly cheapest way to create a natural humidifier is by setting out open-top bowls of water around the house. Ideally, place these in windowsills, near heating vents, or at a safe distance from electronics that tend to run hot. The heat will boost the evaporation.
If you don’t have someplace warm to set the bowls, just setting them out anywhere will help. Water naturally evaporates into the air, no matter what. Heat sources simply speed up the process.
This is one of the safest ways to release moisture into the air when you have a pet, too, though you’ll have to clean the bowls out a little more often. Cats and dogs don’t always drink as much water as they need to, but the seemingly strange placement of water bowls may tempt them. Just clean out the hair and refresh the water every other day.
Via RitaJPike
Let Your Bath Water Cool

If you prefer lowering yourself into a hot, bubbly tub than taking a shower, you should leave the water in afterward and let it cool off, rather than draining immediately. Unless you only bathe once a week, though, you will need to eventually drain it.
But the hotter the water, the more steam will release into the air as the water cools both during and after your bathing time.
Just be sure to leave the bathroom door open to let the evaporating water out into the rest of the house instead of trapping it in the bathroom.
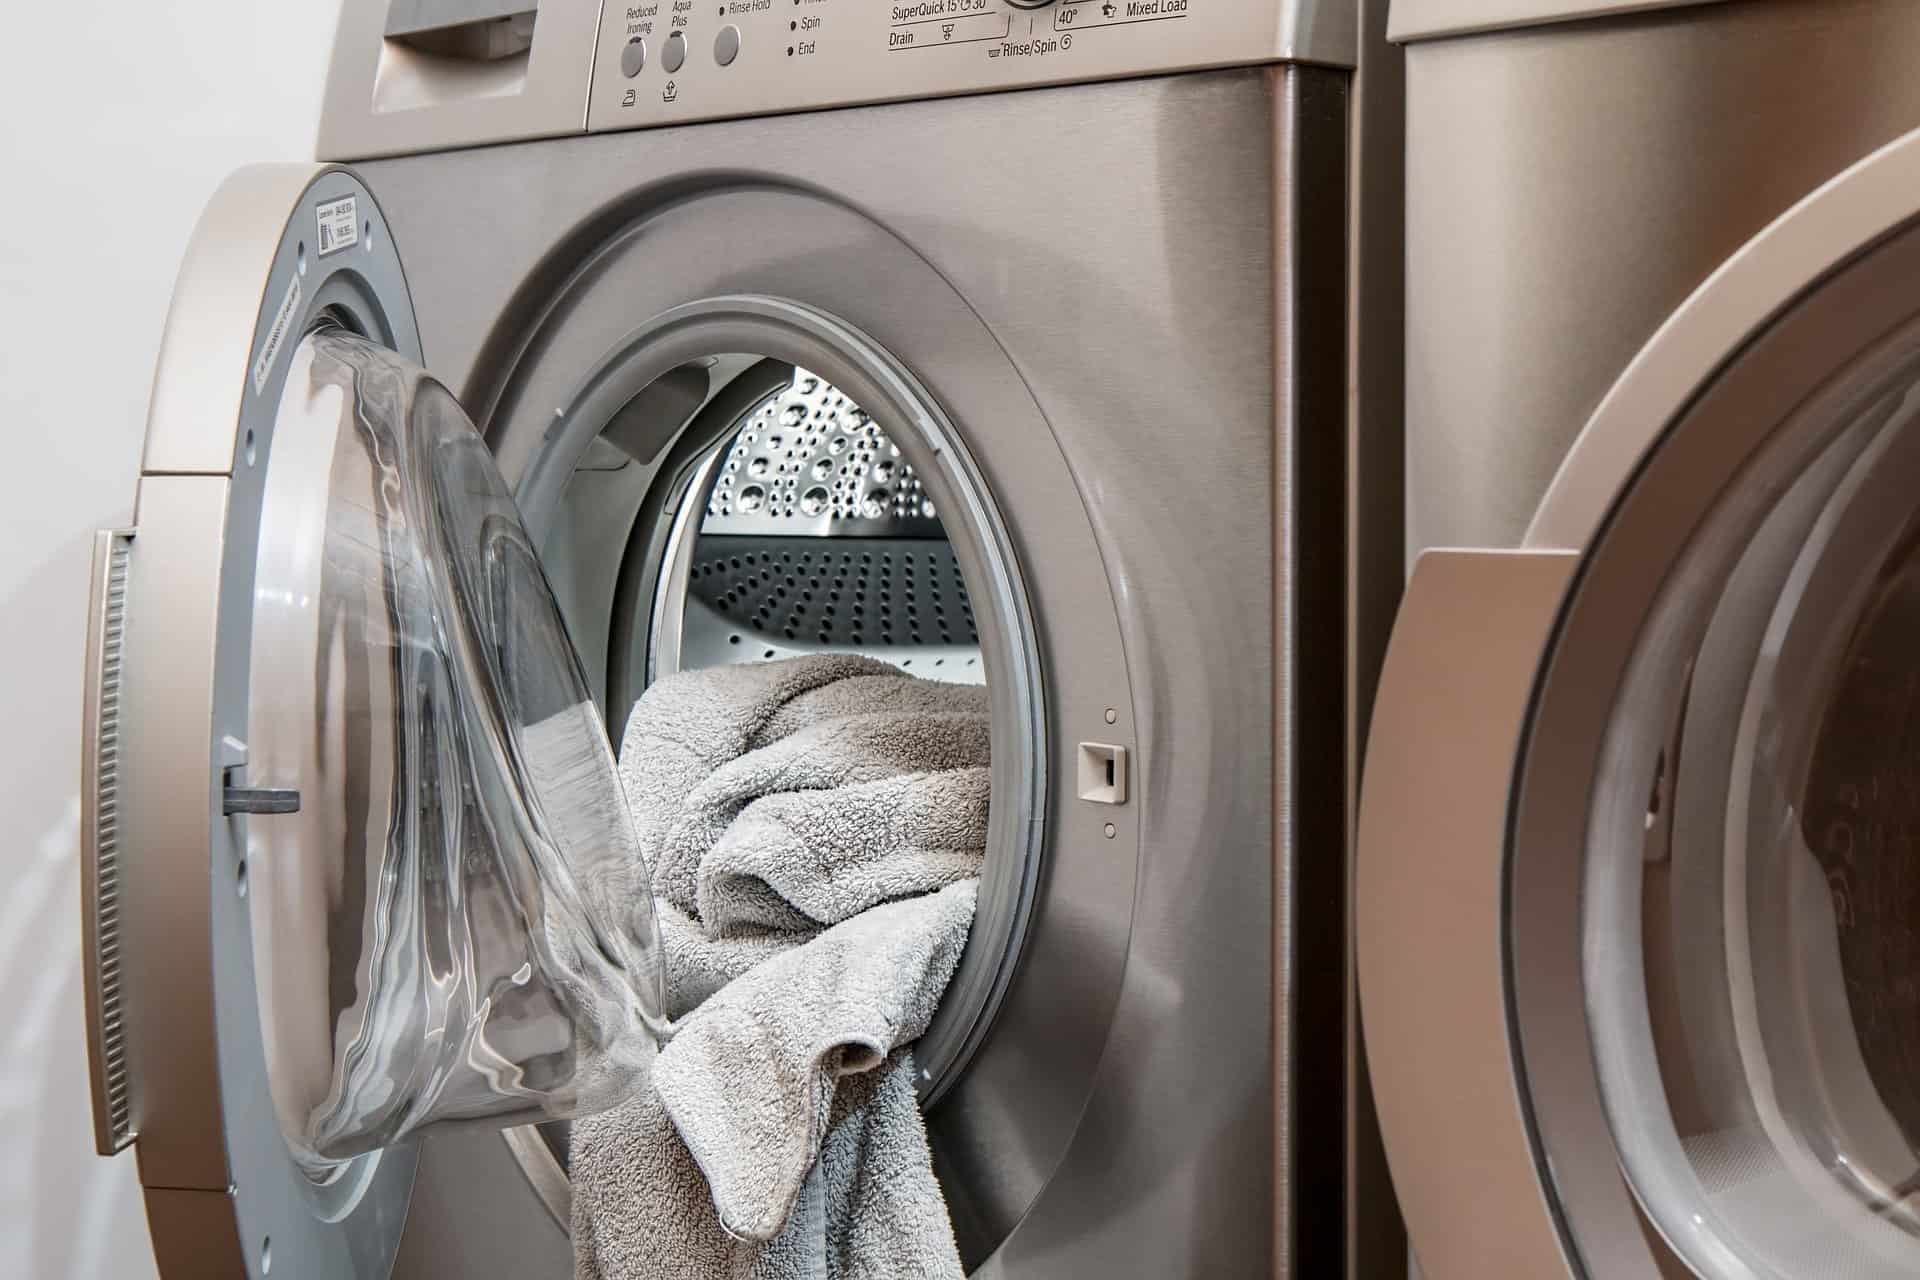
Air Dry Your Laundry Inside

If you’d like to save both money and add some moisture to the air, you can dry your clothing in your apartment or house. Lay out the clothing items just after they’ve gone through the washer and let them dry in a warm room.
If possible, use a drying rack so that you can dry a lot of clothing at once inside. Make sure that you either place a plastic tub or tray underneath the drying rack or place it in the bathtub to dry. Then, leave the door of the room open to the rest of the house. This will avoid water damage and add that precious humidity to the home.
Leave the Door Open After Showers

If you ask me, showers should be as hot as you can handle. Those muscles are soothed, stress and tension leave the shoulders. And loads and loads of steam releases into the air, which means tons of moisture.
If you have a shower setup so that the water won’t get out while you’re showering, leave the door or curtain open to release the steam into the house during the shower. And if that’s not an option, leave the bathroom door open during the shower.
After your shower is over, you should also leave the shower and bathroom doors open to let as much of the steam escape to the rest of the house.
Notes for folks with asthma: A hot steam-filled room can help with an asthma attack. If you deal with asthma, it’s a very good practice to regularly release the steam into the house to help combat attacks.
If you’re having an acute attack and cannot get to the doctor or find your inhaler, this may be enough to help you through the attack until you can seek medical attention.
Via RitaJPike
DIY Desktop Humidifier

If you’re not opposed to using a little electricity but want to recycle materials instead of buying a new humidifier, you can whip up this little homemade humidifier. The instructions on Instructables for the DIY humidifier just need some basic materials, many of which you probably already have.
The tutorial takes you through using a baby wipes container (or other plastic containers), a PC fan, a water bottle, and a humidifier filter, among other items, to create this filtered humidifier. You’ll need a drill, hot glue gun, soldering iron, and some basic tools.
It should only take you a few hours – and if you make a few at once it won’t take that much to have as many as you need to keep your home air moist and fresh.
Via Instructables
The Sponge Humidifier

If you’re not up for putting things on your heater and don’t drink tea, you can make a simple humidifying gadget out of a simple sponge and plastic bag. Make sure you get a large car washing sponge or several smaller sponges. And only use a brand new sponge to avoid spreading germs.
Grab some scissors and punch a few holes into the plastic zipper seal bag. Then, soak your sponge(s) in clean, warm water. Squeeze out the excess water, leaving them damp but not dripping.
Put the sponge(s) into the zipper seal bag and string some fishing line through another hole at the top. Hang the sponge humidifier bag from anywhere you like.
Re-soak the sponge(s) every day to keep the humidifying power going. We highly recommend microwaving the sponge each day before the re-soaking, though, to kill off the bacteria that might be growing there.
Vent Your Dryer to the Inside

If you have a dryer in your home, you could purchase a kit that allows you to vent the dryer back into the house. This simple kit helps you release the moisture from the dryer into your house, but it also cuts down on heating bills during the winter.
Be sure to research the reviews given for any of the kits and only buy one that comes highly recommended. Even more important, make sure that the kit meets all the safety standards. An improperly vented dryer can be very dangerous.
The kits aren’t expensive and tend to be pretty easy to install yourself. If you can find some tutorials online for installing the exact kit you’ve purchased, though, we highly recommend watching it first.
Via Simplemost
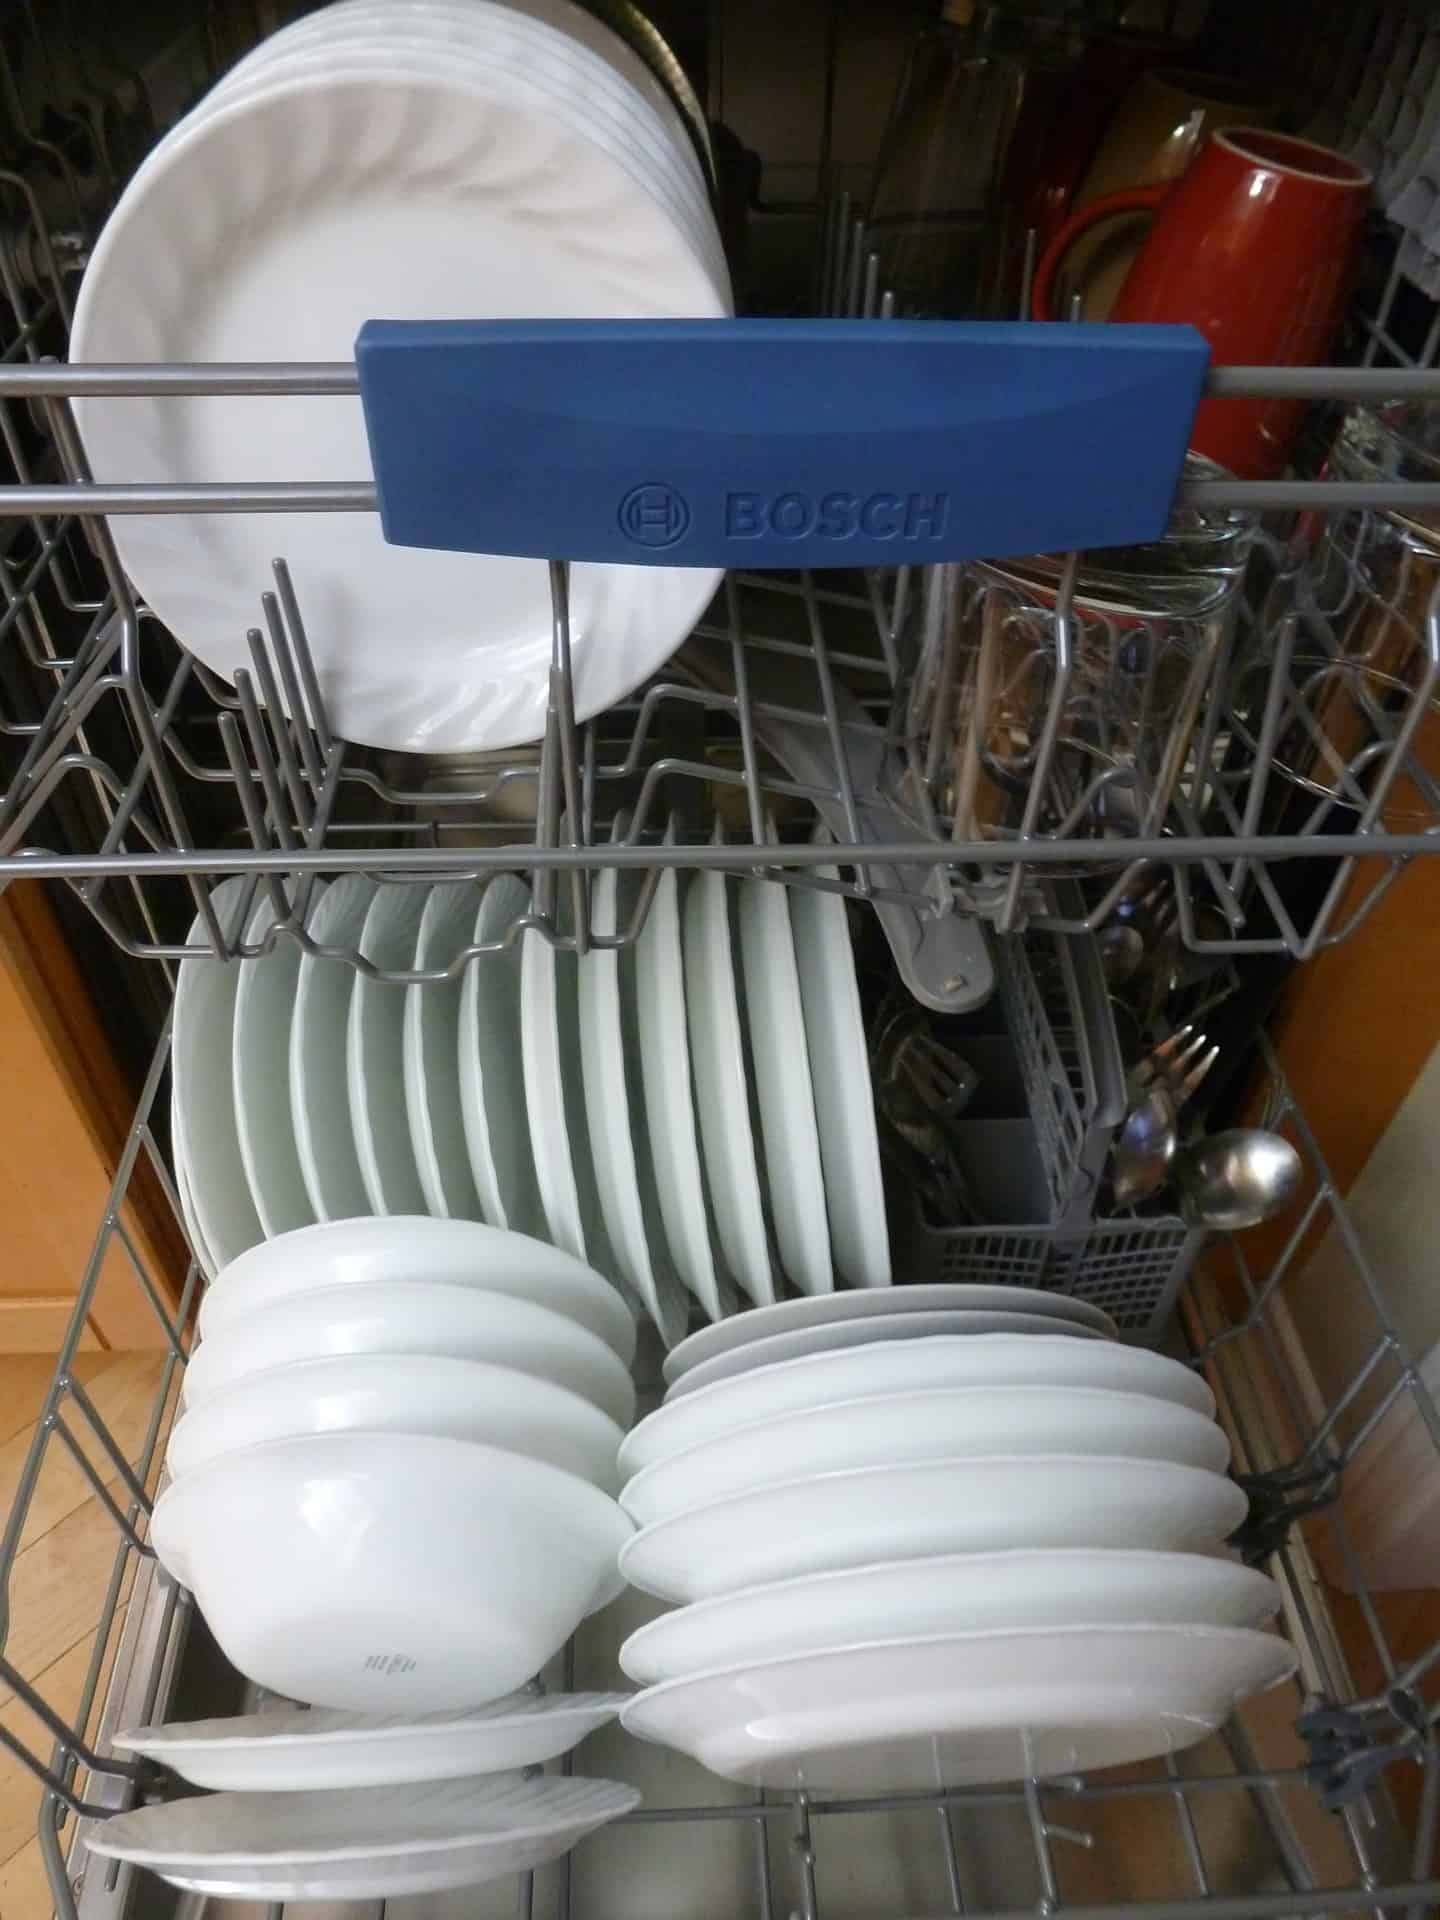
Let Your Dishes in the Dishwasher Air Dry

Another way to add a little moisture to the air every day or so is by allowing your dishwasher to finish its drying cycle with the door open.
When I first saw that my dishwasher was doing this automatically, I was annoyed and closed the door, thinking I didn’t want anything to fall into the dishwasher and potentially soil the clean dishes. However, since I’ve let it run as is, it’s been adding some much-needed water to the air.
If your dishwasher won’t allow you to pop the door during the heated cycle, though, you might want to just turn it off and let the dishes dry with the door open. It will save you a little on the energy bill while also adding some moisture to the air.
Via Simplemost
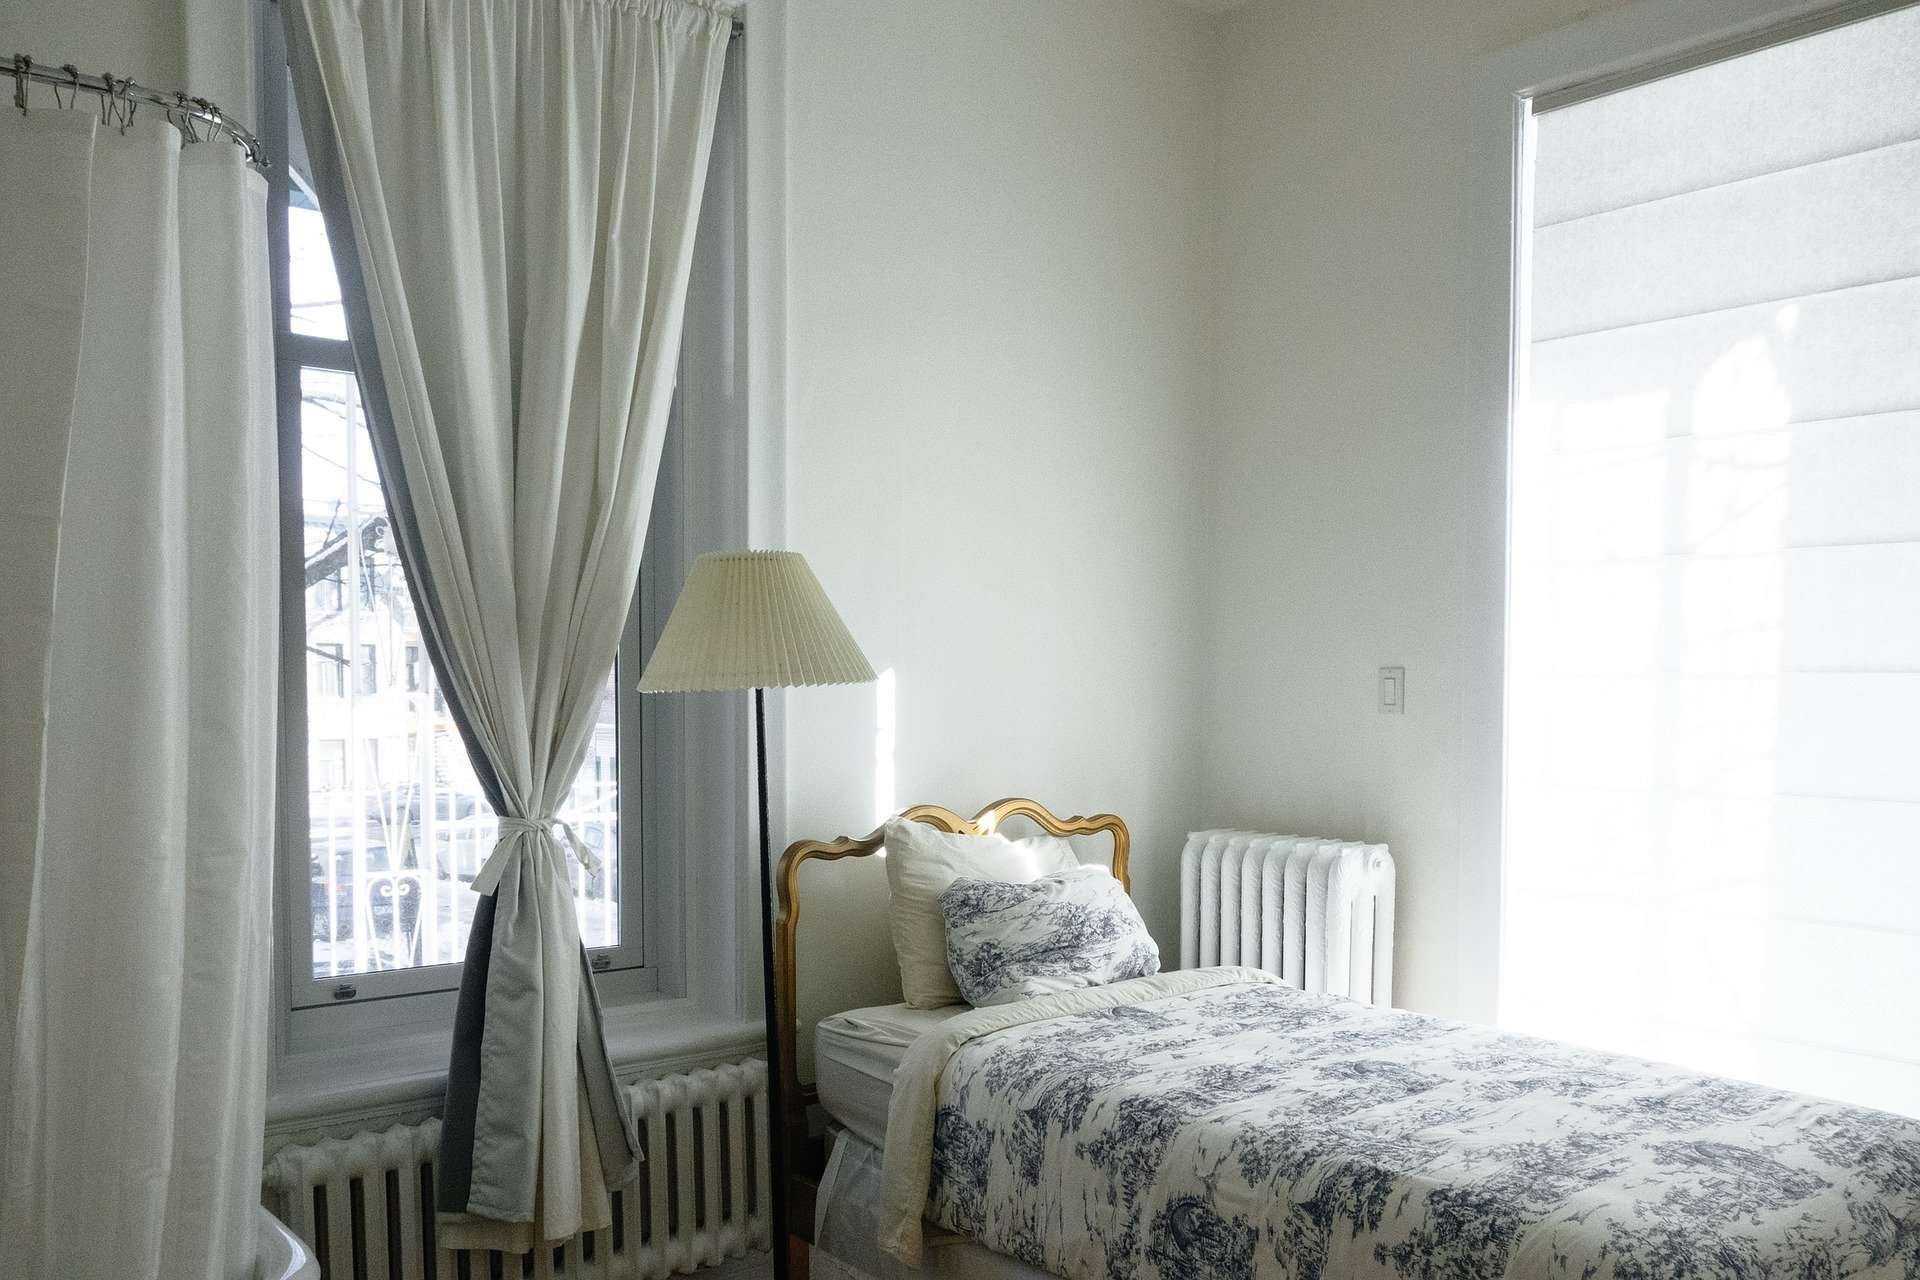
Spritz Your Curtains with a Little Water

If you have light, feathery curtains, a great option is spritzing a little bit of water onto the material. Heavy curtains will probably mildew, so only choose the lighter, sheer materials, cottons, and similar weight fabrics. The moisture in the soft fabric will evaporate into the air.
If you don’t have any lightweight window treatments, you could order some inexpensive material from JoAnn’s or Wal-Mart and simply use some safety pins to secure them over the curtain rods.
If your curtains are hanging over a heating vent, they will release the moisture even quicker. Just be sure to only lightly mist them or you could wind up with curtains that won’t dry.
Via RitaJPike
Get or Make an Indoor Fountain

An indoor fountain isn’t your cheapest option for adding moisture to the air, but if you don’t want to rely on hot steam or hot evaporation for humidifying your home, they can do it for you.
They come in a wide range of styles, sizes, and prices, and you’ll probably find something you like. But if you’re not feeling the price tag, you can find some tutorials online for making your own instead.
As the water trickles down the fountain, just like with all of the other options, water will naturally evaporate into the air – but in the case of the fountain, it will be cool humidity.
Get a Fish Tank with Screen Lid

The final choice isn’t the most traditional option, though you’ll find it on a lot of lists. And if you’re into keeping fish or other aquatic animals, it may be a good choice for you. It will, however, be a larger investment than others. But in these times of being locked down, it may turn into the perfect hobby while you’re at home so much.
If you decide to get a fish tank, be sure to thoroughly study and plan your options. You don’t want to get a fishbowl and trap a goldfish in there – they need much more space than that. Also, we wouldn’t advise a marine tank for this purpose.
Instead, choose a large enough aquarium to accommodate some freshwater fish who’ll keep you and the kids entertained while you take care of them.
Creative Ways Are Often the Best
Adding humidity to the home doesn’t have to be that boring plastic thing stuck in the corner of the room. Instead, these creative ways can add some beauty to your home or even a hobby or new passion for tea.
In our home, we combine several of these options to keep our unusually dry home moisturized and healthy. A combination of the many choices is likely to be your best bet as well.
Let these ideas inspire your own creativity in choosing the vessels you’ll use for placing water around the home, planters to put your indoor plants into, or even what kind of fish you’ll keep around.